Oh what fun. A week of Dr. Seuss at school. On my volunteer day, we made truffula trees out of licorice and cotton candy...yummy, sticky goodness. The kindergarteners made them all by themselves--very cute. To commemorate the day, I made these little cards to go with their edible craft.
 |
| Dr. Seuss- The Lorax |
|
|
|
When I get a moment, I will upload the pdf for the quote. I used tear apart post card sheets. It's what I had on hand. Each card is 4"x5.5". The truffula stem is cut out of printed scrapbook paper and the fluffy tree is ripped from mulberry paper. If your unfamiliar with this kind of paper, you can normally find it at craft stores in the scrapbooking aisle.
I hot glued a clear pocket and put 4-6 flower seeds inside. Now, clear pockets can be a little pricey, especially if you need 31 like I did. My solution--I have oodles of baseball card pockets so I just cut one of the sides in half, made a little flap of the other side, folded and tucked it inside and voilá, instant clear pocket.
Thank you Dr. Seuss! Because just sometimes, double meanings can be wonderful!
Take me out to the ball game, take me out to the crowds, make me a banner with all my team's names, that I can hang up for all of my games...
Last year, I was team mom for my son's baseball team, the Yankees and made a banner for them
My inspiration for my first ever banner came from http://bluesusanmakes.blogspot.com/2011/03/team-banner-tutorial.html
She gives a wonderful tutorial on how she made it. With the extra felt, I made the team individual pennants with their names on them using Avery iron-on ink jet printer paper--I so love this stuff!
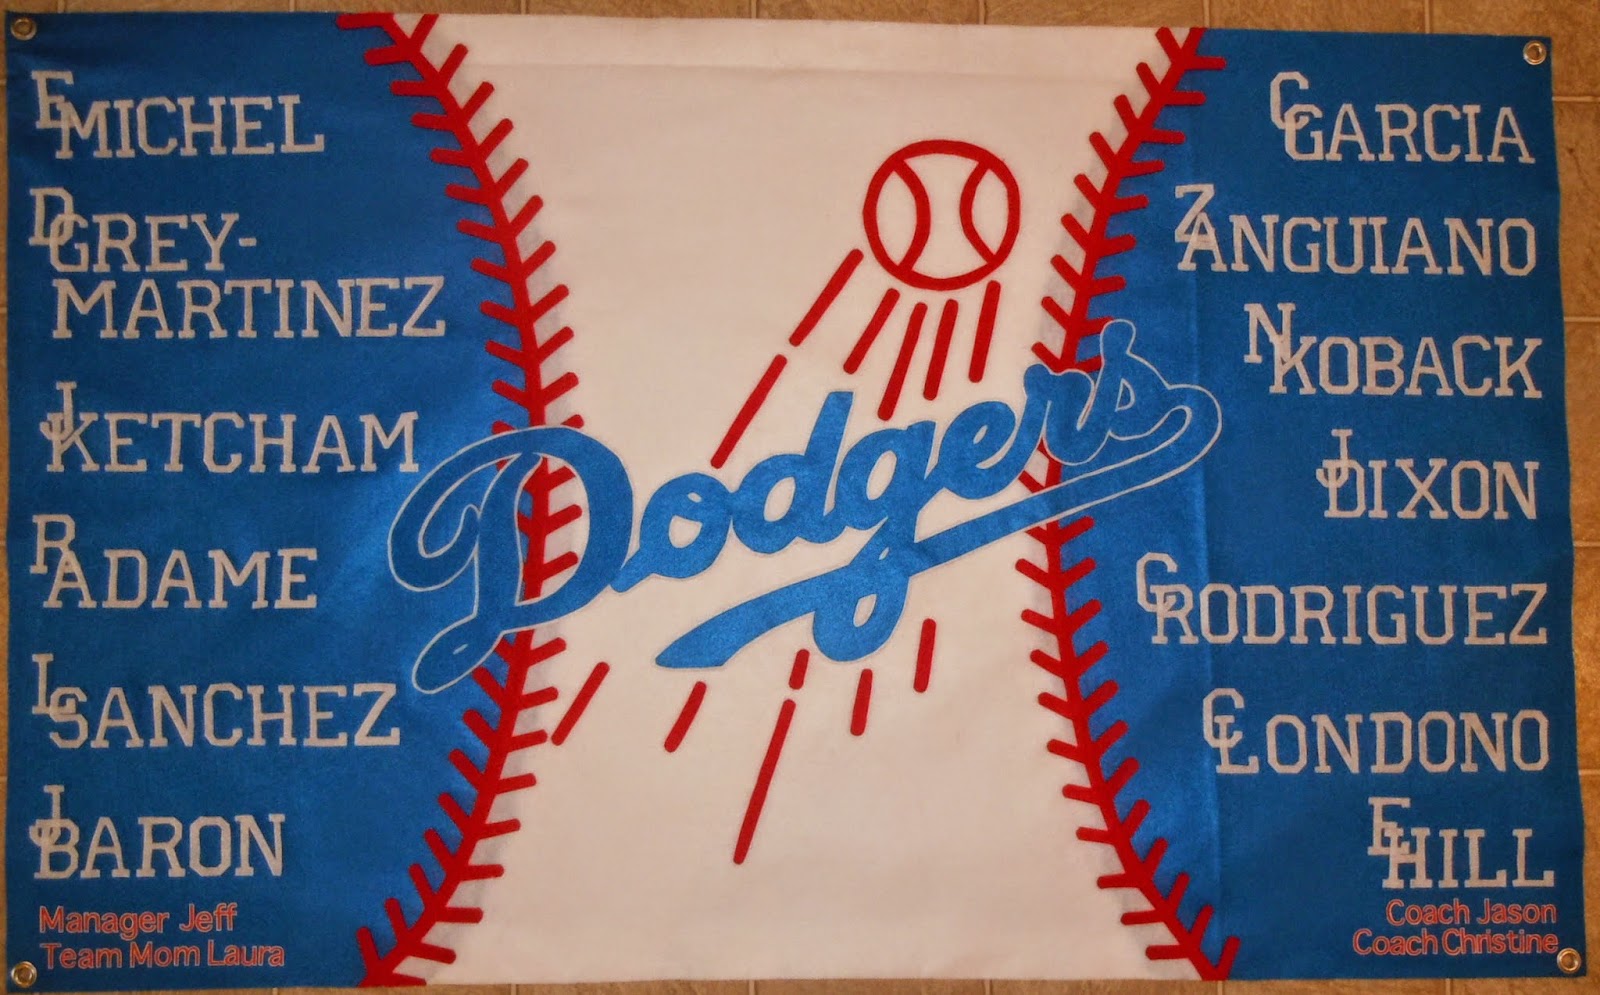
This year, I was asked to make a banner and since I just love the coach who asked, I couldn't say "no." I always start in Photoshop and make a quick design until I get something I like:
With my fingers crossed, off to Joanns for supplies. Yay, felt was on sale- $2.99 a yard and with my coupon, even better!
Materials: 3.5 yards total of felt, glue gun, Avery iron-on paper, and extra large eyelets. That's all. Measure out 3'x5' and cut and cut and cut and cut. I ended up making the banner slightly larger so I could use a rotary
cutter and carpenter's square to make my edges nice and straight.
For the thread, I used photoshop and my printer again to make the template. Since the felt will conform to whatever shape you choose, it doesn't matter if the pieces are cut in straight lines. I chose to snip the corners to make the edges rounded.
For the oversized name: search the internet for a logo that you like, then using photo editing software keep just the outline.
I put the size that I wanted into posterazor (microsoft office will do this too) tape the sheets of paper together and cut it out of the felt. Link for posterazor, if you need it: http://posterazor.sourceforge.net/.
I printed out all pertinent alphabets, again using outlines only in photoshop so as not to use up all my ink and glued them in the LA dodger logo shape. The coaches names were ironed on using the Avery paper andthe eyelets were punched out in the corners.
 |
| diy-baseball banner |
|
I did add a vinyl liner to the back to accommodate for a bar and to add extra weight to the felt. Found this at Wal-Mart for $1.50 a yard! This also helped for padding the area where the eyelets are going so as not to rip the felt. I cut the liner 2 inches longer than the top and bottom. Glued it on all sides. I cut out extra pieces of vinyl 1.5"x3" to glue to the inside flap of each corner. Cut out the slits inside of this extra piece for added durability. Glue the edges of the rod pocket down. When you get to the openings for the rod, completely glue down the corner surface area where the eyelets are going.
All in all, it was easy to make, just time consuming with all the cutting and gluing You could simplify it by not lining it and sew on ribbon ties instead of eyelets. I do have extra felt...player pennants coming up!